Tutorial, part five: Scheduling your pipeline#
Now that you've written an entire pipeline in Dagster, you will need to run it regularly to keep your assets up to date.
By the end of this part of the tutorial, you'll be able to:
- Structure your project with code locations and jobs
- Refresh your assets periodically with schedules
Defining what assets to update#
A job lets you target a selection of assets to materialize them together as a single action. Assets can belong to multiple jobs.
Your Dagster repository has a file called tutorial/__init__.py that is used as a top-level definition for your project. Update the code in your to add the job using the define_asset_job function:
from dagster import (
    AssetSelection,
    Definitions,
    define_asset_job,
    load_assets_from_modules,
)

from . import assets

all_assets = load_assets_from_modules([assets])

# Addition: define a job that will materialize the assets
hackernews_job = define_asset_job("hackernews_job", selection=AssetSelection.all())

defs = Definitions(
    assets=all_assets,
    jobs=[hackernews_job],  # Addition: add the job to Definitions object (see below)
)
Dagster's AssetSelection module lets you choose which assets to attach to a job. In the example above, AssetSelection.all selects all assets.
Once you have a job, you can execute it on a schedule, by clicking a button in the UI, the CLI, or via Dagster's GraphQL endpoints. Confirm that your job was defined by:
- Refreshing your deployment
- Going to the Dagster UI
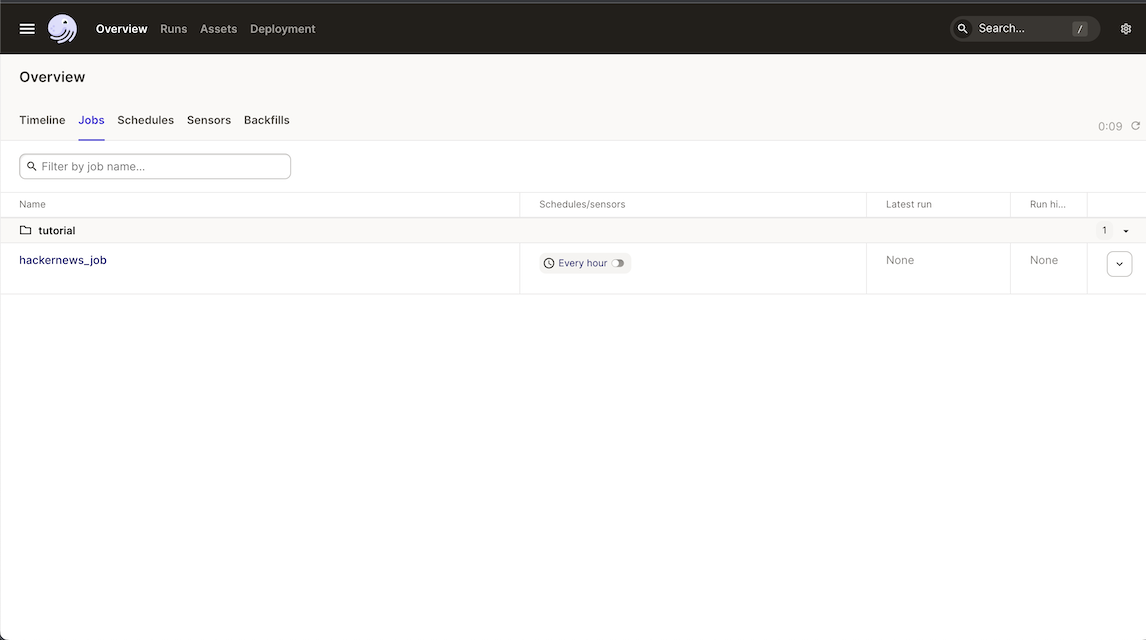
- Navigating to Overview > Jobs
- Clicking on the job
- Seeing your assets selected for the job

About definitions#
Up until this point, you defined assets using the @asset decorator. Dagster definitions are entities that Dagster learns about by importing your code. Just now, you used a different kind of definition: a job definition.
Managing one type of definition, such as assets, is easy. However, it can quickly become unruly as your project grows to have a variety of definitions (ex. schedules, jobs, sensors, etc.). Dagster provides a utility called the Definitions object. This Definitions object is used to combine all definitions into one.
The Definitions object is used to centralize all the definitions that are inside a code location. A Code Location is a collection of related definitions. For example, a code location can contain all the pipelines of a data team, or it can be a separation between verticals such as marketing and sales. A Dagster project/deployment can have multiple code locations. For more on code locations and Definitions, read the Code Locations documentation.
Scheduling the materializations#
After defining a job, it can be attached to a schedule. A schedule's responsibility is to start a run of the assigned job at a specified time. Schedules are added with the ScheduleDefinition class.
To regularly update the assets, add the new ScheduleDefinition import, create a new schedule for the hackernews_job, and add the schedule to the code location. The code below is how your __init__.py should look after making these changes:
from dagster import (
    AssetSelection,
    Definitions,
    ScheduleDefinition,
    define_asset_job,
    load_assets_from_modules,
)

from . import assets

all_assets = load_assets_from_modules([assets])

# Define a job that will materialize the assets
hackernews_job = define_asset_job("hackernews_job", selection=AssetSelection.all())

# Addition: a ScheduleDefinition the job it should run and a cron schedule of how frequently to run it
hackernews_schedule = ScheduleDefinition(
    job=hackernews_job, cron_schedule="0 * * * *"  # every hour
)

defs = Definitions(assets=all_assets, schedules=[hackernews_schedule])
Go to the Dagster UI, click Overview > Schedules tab, and observe your new schedule with the attached job.


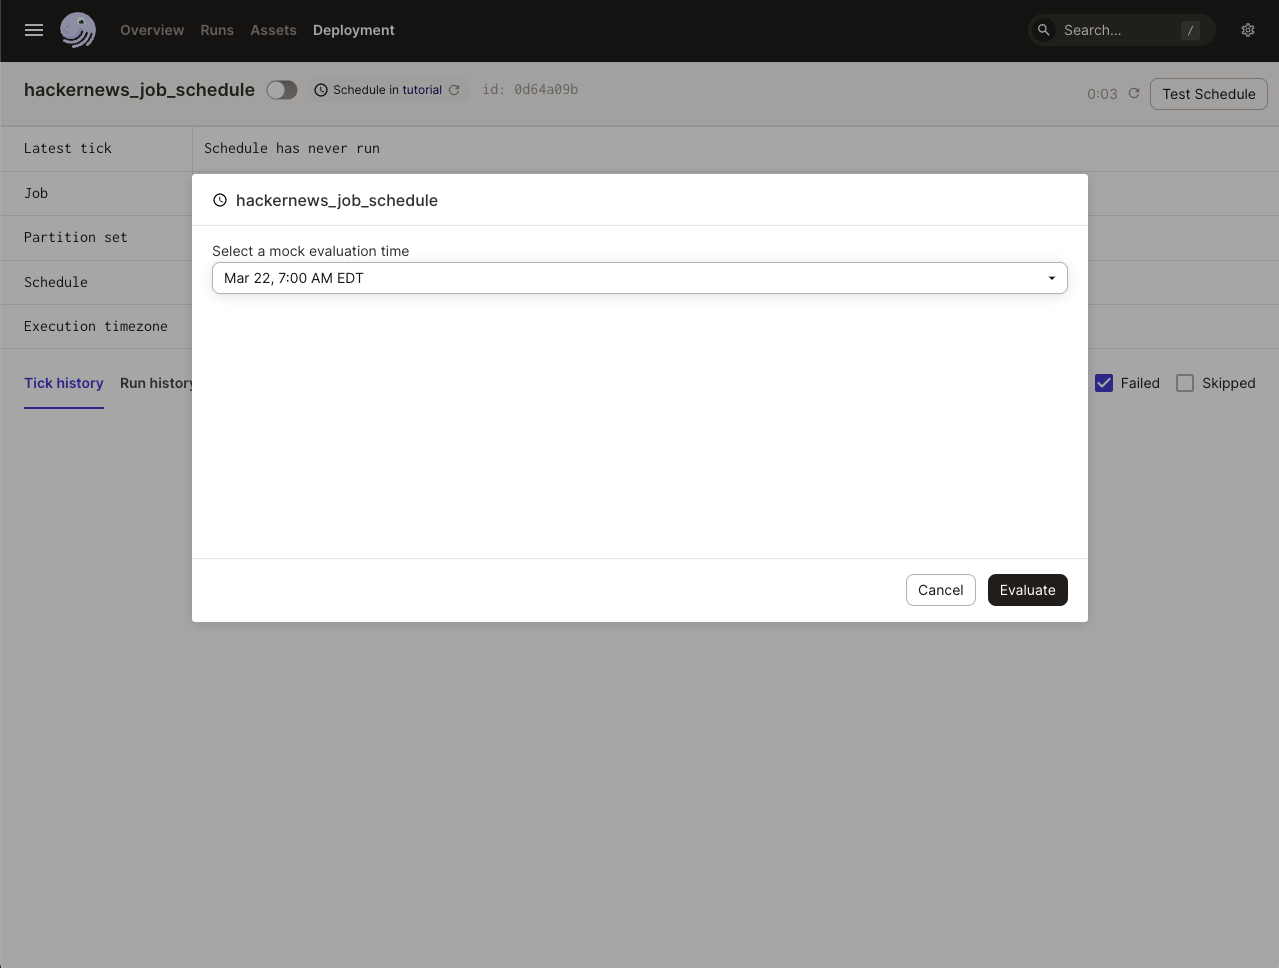
To test the change, click the schedule's name to view its details. Click the Test Schedule button on the top right corner of the page to trigger the schedule immediately.

Schedules are just one way to start jobs. Jobs can also be run by using the CLI, a Python function, or the Dagit UI. Refer to the Jobs documentation to learn more.
Other ways to automate your pipelines#
You've used a schedule to update your data on a regular cadence. However, there are other ways to trigger jobs. For example, sensors can trigger a job after routinely polling a source. Check out the Automating your pipelines guide to learn more.
Next steps#
By now, you've:
- Grouped your objects with a code location
- Defined a sequence of materializations with a job
- Run the job on a schedule
Move on to find out what to do now that you've completed the tutorial in the next steps section.